How to Get Your GitHub Token to Manually Configure GitZoid

Darshika Joshi
By Darshika Joshi

WaveAssist

Published on: May 17, 2025

Your step-by-step guide to generating the right GitHub token to manually configure GitZoid, your Pull Request review agent on WaveAssist.

How to Get Your GitHub Token to Manually Configure GitZoid

How to Get Your GitHub Token to Manually Configure GitZoid (Fine-Grained & Classic)

In this guide, we'll walk you through how to generate the right GitHub token to manually configure GitZoid, step by step. Whether you prefer the modern Fine-Grained Token or the Classic Token, we've got you covered.

These tokens are essential for connecting GitZoid to your GitHub repositories so it can review pull requests automatically using AI.


Option 1: Create a Classic Personal Access Token 🔑

If you prefer or need broader access, classic tokens are another option:

1. Go to Classic Token Settings

2. Click "Generate new token"

  • Choose "Generate new token (classic)"
  • You may need to authenticate again

3. Set Expiry & Permissions

  • Give the token a name (e.g., GitZoid Classic Token)
  • Set an expiry (recommended for security)
  • Under scopes, select:
    • repo ✅ (for full access to repositories)
    • write:discussion ✅ (for PR comments)

⚠️ Note: Classic tokens give broader access, so use with caution and only if necessary. Fine-grained tokens are generally safer.

4. Generate & Copy

  • Click Generate token at the bottom
  • Copy the token immediately — you won't see it again!
  • Store it securely

Option 2: Create a Fine-Grained Token ✨

Fine-grained tokens give you tighter control over permissions and access. Here's how to set one up:

1. Go to GitHub Developer Settings

Visit: https://github.com/settings/personal-access-tokens

2. Click "Generate new token"

  • Choose "Fine-grained personal access token"
  • Login if prompted

3. Add a Token Name & Expiry

  • Give it a meaningful name like GitZoid Access or WaveAssist GitZoid
  • Set an expiry (recommended for security), or mark no expiry if you prefer
  • Add a description (optional): "Token for GitZoid AI PR reviews"

4. Select Repositories

  • Choose "Only select repositories"
  • Pick the specific repos where GitZoid should review PRs
  • This ensures GitZoid only has access to the repositories you want

5. Set Permissions

Under "Repository permissions", enable:

PermissionAccess Level
Pull RequestsRead & Write ✅
ContentsRead-only (optional)

Leave all other permissions as No Access for maximum security.

6. Generate & Copy the Token

  • Hit Generate token
  • Copy and store the token securely — GitHub will only show it once!
  • Save it in a password manager or somewhere safe

You can now paste this token into GitZoid on WaveAssist to manually configure and connect your GitHub account securely.


GitHub Access Token

Done! Use Your Token in GitZoid on WaveAssist 🚀

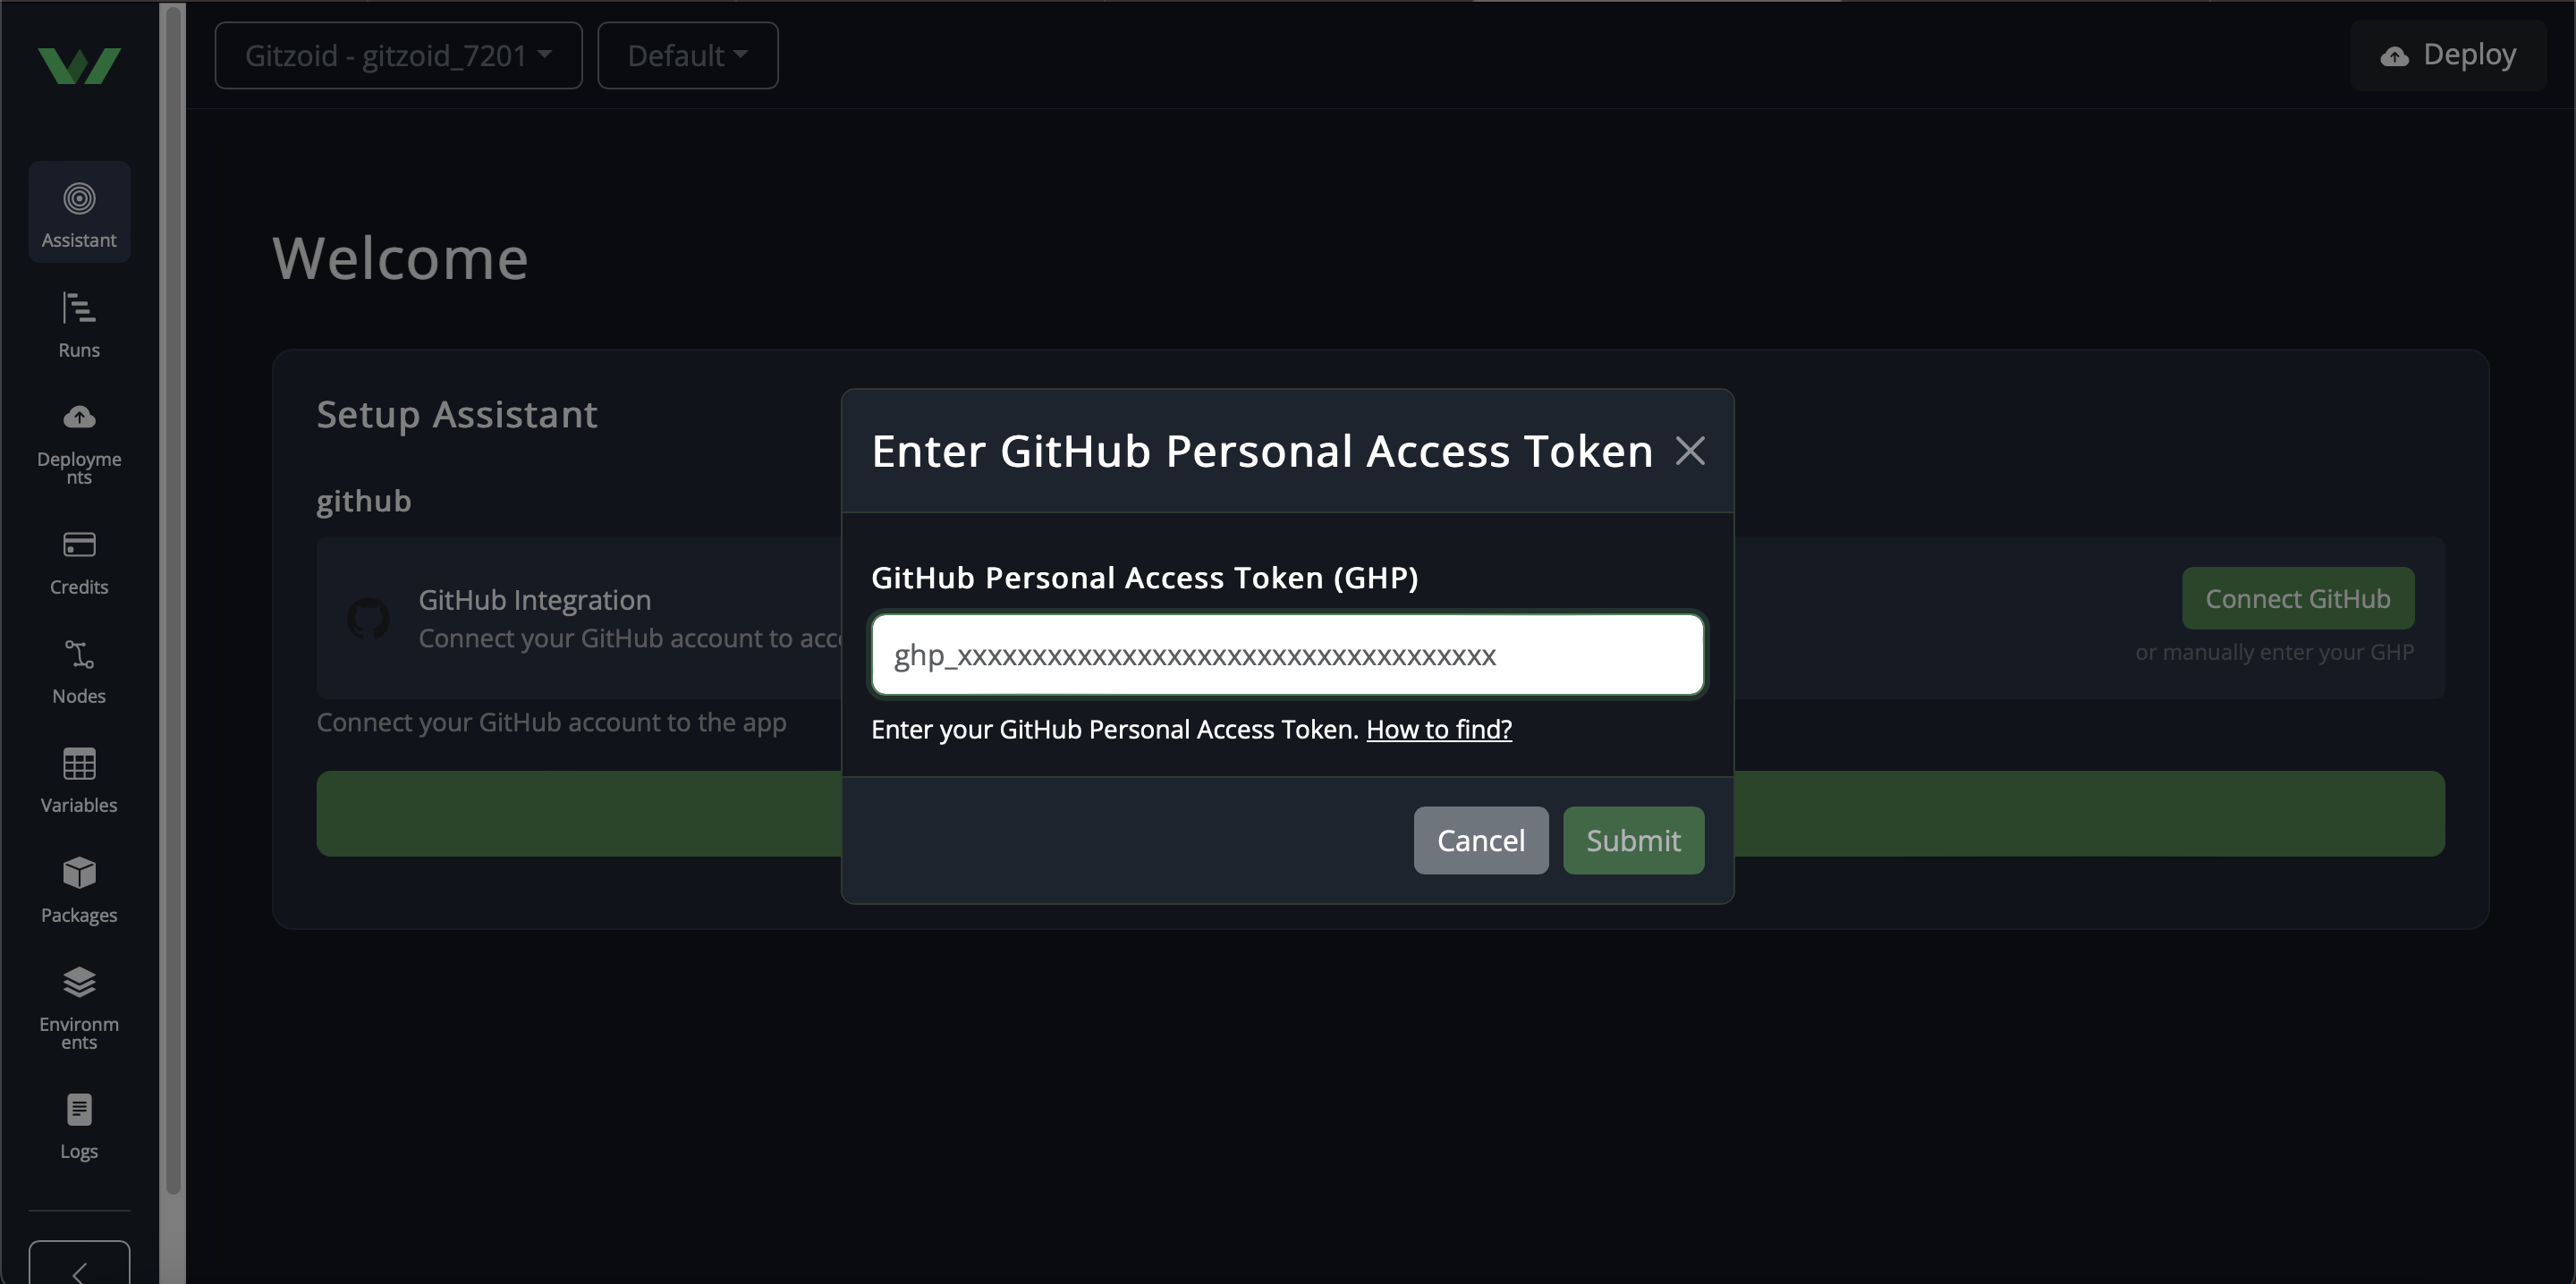
Once your token is ready, here's how to use it:

  1. Deploy GitZoid on WaveAssist: Deploy GitZoid Template
  2. Select manually add GHP option
  3. Paste your GitHub token into the github_ghp_token pop up
  4. Save and deploy

GitZoid will now securely fetch your PRs and start reviewing them using AI — no more manual reviews!


Why Use GitZoid on WaveAssist? 🤖

Whether you're working on side projects or managing teams, GitZoid helps you:

  • ⏱️ Save time on code reviews
  • 🧠 Get AI-powered suggestions instantly
  • Maintain high code quality without the overhead
  • 🔄 Automate reviews on every PR with scheduling or webhooks
  • 🔐 Keep secrets safe with WaveAssist's built-in secrets management

Start reviewing smarter.


Troubleshooting Tips 🔧

Token Not Working?

  • Make sure you've granted the correct permissions (Pull Requests: Read & Write)
  • Check that the token hasn't expired
  • Verify you've selected the right repositories (for fine-grained tokens)

Need to Revoke a Token?

  • Go back to your GitHub settings
  • Find the token in your list
  • Click Revoke to immediately invalidate it

Want to Update Permissions?

  • For fine-grained tokens: Edit the token and update permissions
  • For classic tokens: You'll need to generate a new token

Next Steps 📚

Now that you have your GitHub token, check out our guide on deploying GitZoid:

👉 How to Deploy GitZoid on WaveAssist

Need help? Reach us at support@waveassist.io

Happy reviewing! 🎉

Ready to try AI agents?

Discover our collection of production-ready AI agents that you can launch in one click. From finance to development, we have assistants for every workflow.

One-click deploymentFully hostedFree tier available